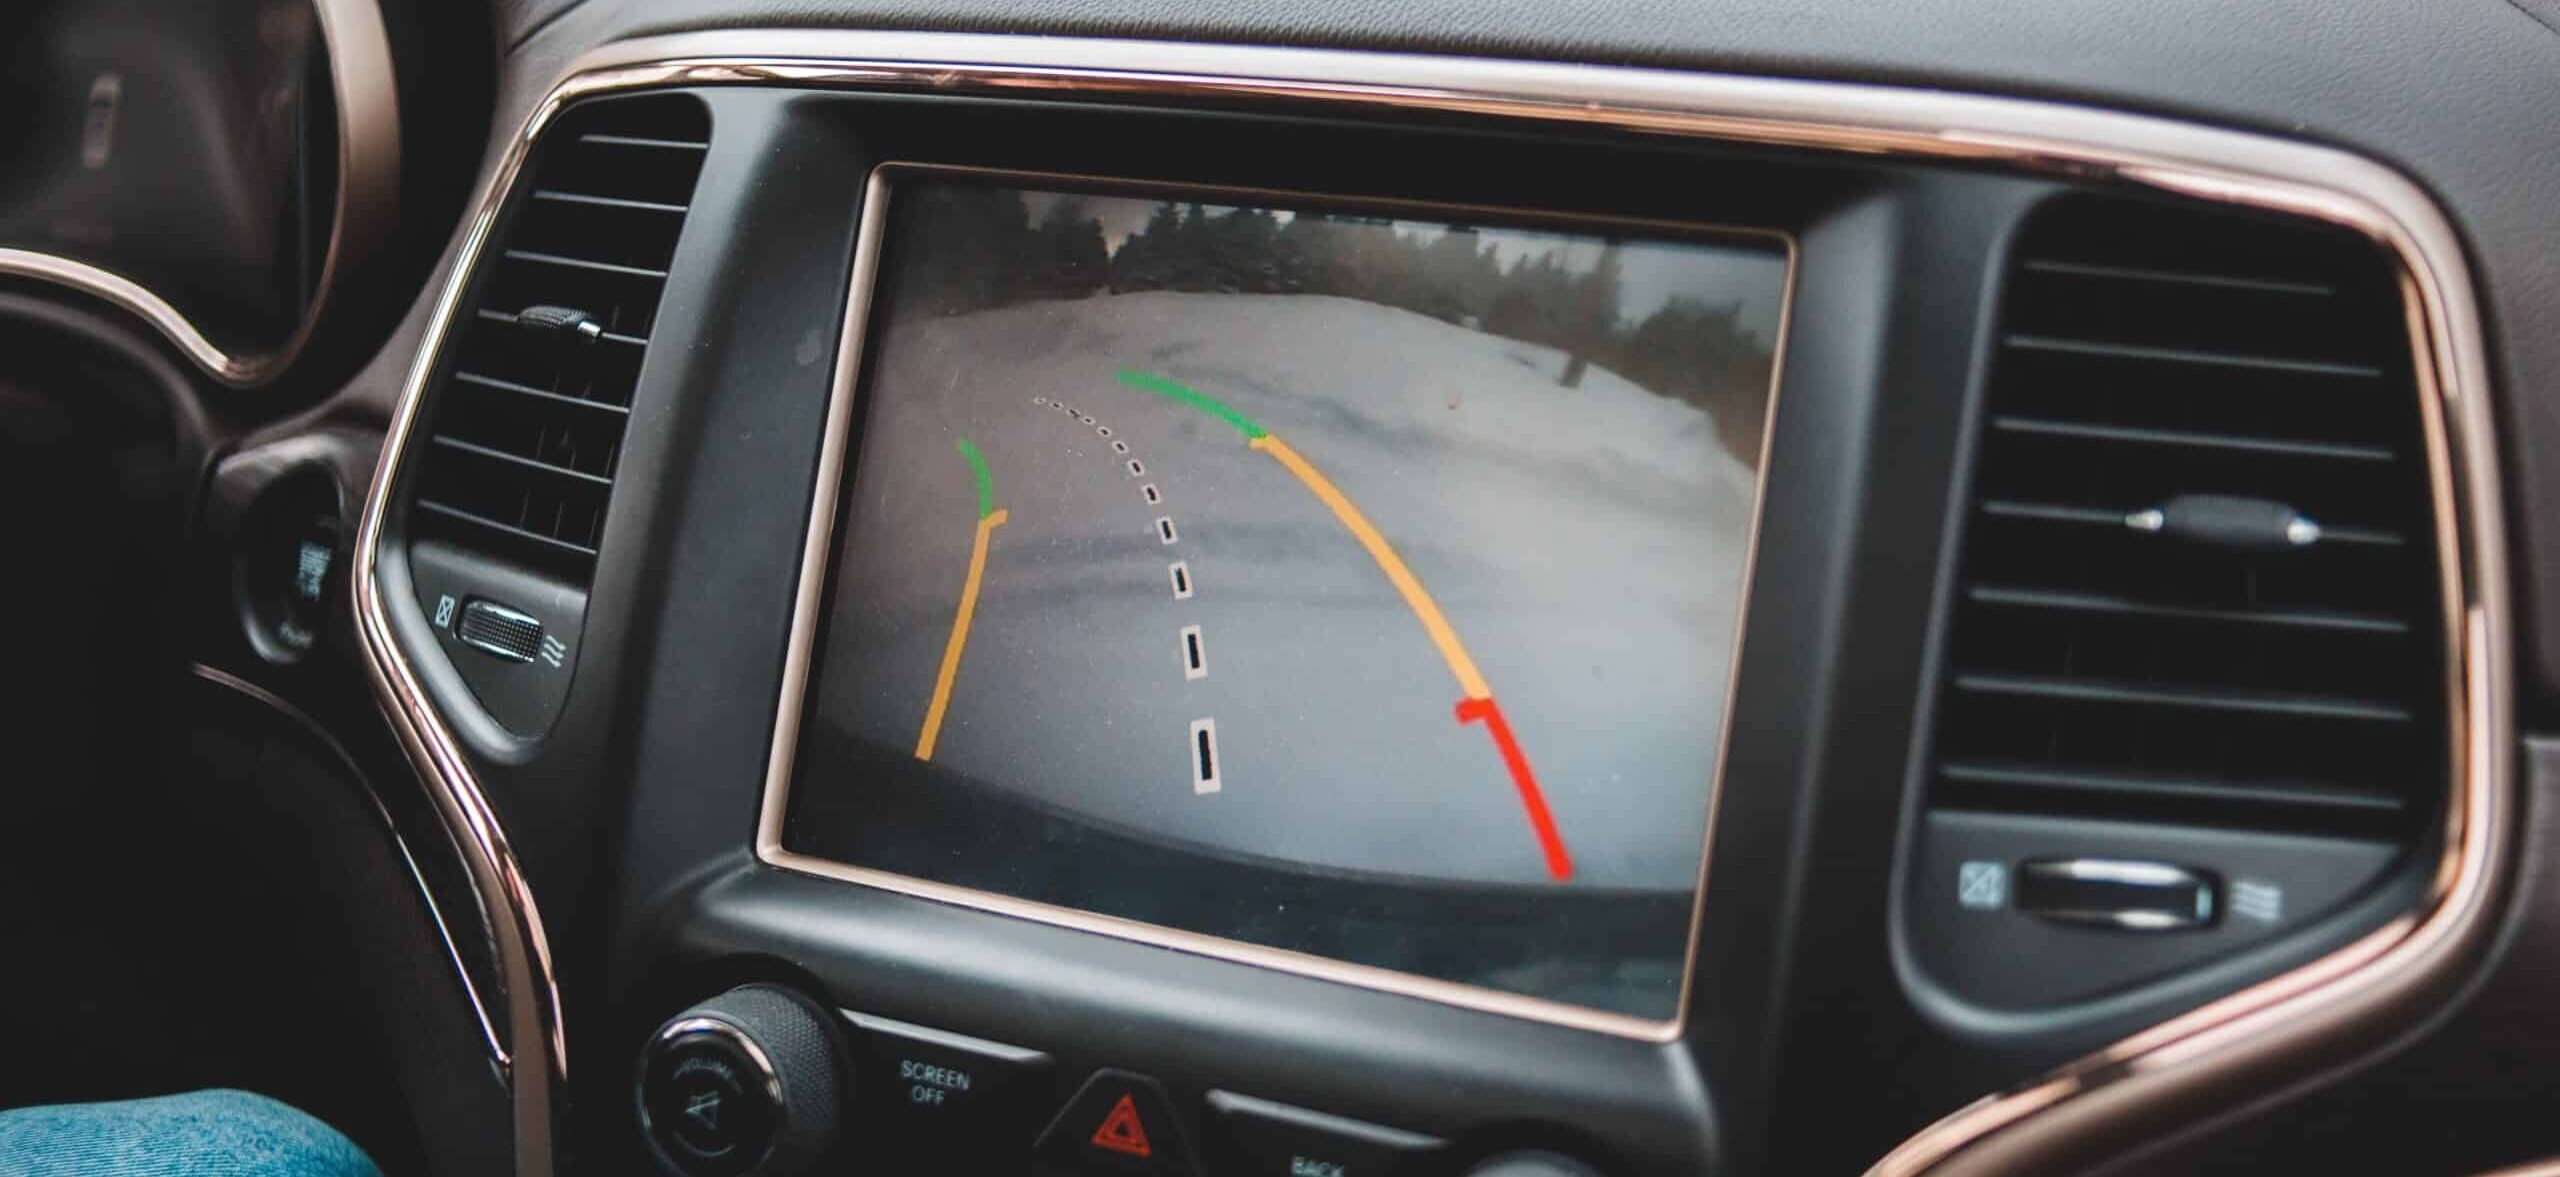
With long vehicles, backup cameras can give you greater confidence when backing up or maneuvering. A backup camera can increase safety and security in your truck. Whether an original equipment manufacturer (OEM) backup camera or a wired, mounted one, they’re more than worth the cost. Follow the steps below for semitruck camera mounting or backup camera installation to improve safety immediately.
Why should you install a backup camera?
A backup camera for trucks provides an unobstructed view of what’s behind the vehicle. They can help prevent accidents, injuries and death. They can also reduce the possibility of damage to the vehicle while backing up.
Backup cameras make trucks safer on the road by reducing blind spots and helping to prevent accidents. They make it safer to hook up and tow trailers, and may offer a clearer picture in low-light settings.
Is it better to install a wired or wireless backup camera?
For high-quality imagery and a permanent, reliable connection to a monitor, a wired backup camera for trucks is usually best. The wiring allows for greater data transfer to quickly receive sharp and focused images.
Wireless cameras are usually cheaper and faster to install because you don’t need to connect the wiring. While they’re better than nothing, the image quality and lower reliability make them a second choice for professional truckers. Wireless cameras are best for someone wanting a low-cost solution and easy installation.
You may hire a professional to install a wired camera for you. But with the tips below, you could also do the installation yourself.
Types of backup cameras
Backup camera installation procedures for semitruck backup cameras vary widely, largely depending on how they’re mounted.
- Bracket mounted: These cameras are mounted on a bracket on the rear of the vehicle, usually near the license plate. But you can position it anywhere on the back of your truck. To install a bracket mount, you’ll need to drill into your vehicle.
- Flush mounted: This option has a flat design with the mount built into the camera for a lower profile. It’s attached similarly to the bracket mount.
- License plate frame: This option enables users to mount cameras directly into license plate frames. They attach to existing license plate bolts, making installation simple.
- License plate bar: Like the license plate frame mount, a backup camera may be installed on top of a license plate bar.
- OEM specific: OEM backup cameras are integrated seamlessly into vehicles’ designs. They usually come with vehicles when they’re bought or can be installed by an authorized retailer.
6 installation tips for truck backup cameras
If you’re ready to install a backup camera yourself, the six tips below should make the process of backup camera installation easier.
Gather the tools needed
For a backup camera installation, make sure you have all the screws and installation equipment that came with the camera. You’ll also need screwdrivers, pliers and silicon sealant.
Other useful tools useful for installing a truck backup camera include:
- Phillips-head and flathead screwdrivers
- Tools to remove trim or panels
- Wire strippers
- Cordless drill with 3/32 to ⅛ drill bits
- Automotive multimeter
- Wire connectors
Mount the camera
To mount the camera, follow the manufacturer’s instructions. Usually, you’ll be able to find a design on the paperwork for backup camera installation. You’ll need to determine the mount type. In some cases, such as for a bracket or flush-mounted camera, you may need to drill holes in the vehicle for the installation.
In some cases, you may need to build a mount before installing the camera. While following the manufacturer’s instructions, be careful not to scratch your vehicle’s paint.
Run the cables
After the camera is mounted, run the cables to the front of the vehicle. To do this, follow your brake light cables from the rear moving toward the front. This is the most delicate and time-consuming part of the process because you must be careful to not damage the cables while securing them.
Connect the camera to the reverse light cable
Backup cameras often must be wired into the reverse light circuit so they’re automatically engaged when brakes are applied. Your vehicle’s owner’s manual can clarify where to connect cables for backup camera installation with reverse cable lights.
Connect a power source
In the final step of backup camera installation, your camera must be connected to a power source. It’s often as simple as plugging it into your truck’s 12-volt power outlet. Other backup cameras are hardwired into the fuse box. Backup cameras with collision detection will usually require hardwiring to the fuse box. In this case, you’ll need to wire the camera into an ignition-switched fuse so it doesn’t drain the battery overnight.
Check the camera
Finally, check the camera’s connection and make sure you’ve got a clear image. Adjust the angle as needed for maximum safety. Consider enlisting someone to stand at different locations behind the vehicle to gauge image capture and range.
Preparation for backup camera installation
With the steps above, you can install a backup camera on a semitruck relatively quickly. The first step is to choose the type of dashcam. Read reviews and look for recommendations. Evaluate your options, like license plate- or mirror-mounted models, and decide whether to install the camera yourself or with professional help. Check with the National Highway Traffic Safety Administration for current standards on backup cameras and get started today.
FAQ
To align the backup camera for your truck, park it close to a curb or in a parking stall. Use the parking stall lines or curb behind the vehicle as reference points.
The best place to put a backup camera for trucks is in the center rear of the vehicle, such as on the rear bumper.
A backup camera doesn’t normally need calibration. But if it’s a 360-degree system, it might need calibration in certain instances, so it’s best to check with the manufacturer.


